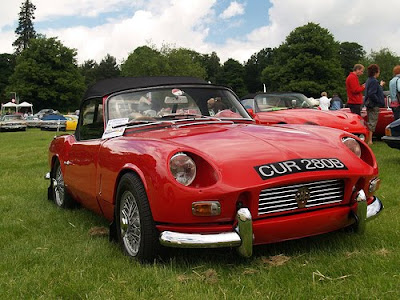
Triumph Spitfire MK IV Restoration Parts 8
 1:06 AM
 Goohara
, Posted in
Article
,
Cars
,
Cars Article
,
Classic Cars
,
Club
,
Mk IV Spitfire
,
New
,
Restoration
,
Restoration Cars
,
Spitfire Mark IV
,
Triumph Spitfire
,
Triumph Spitfire Cars
,
Triumph Spitfire MK IV
,
1 Comment
Triumph Spitfire Cars
Triumph Spitfire MK IV Restoration Parts 8
Triumph Spitfire Cars
Triumph Spitfire MK IV Restoration Parts 8
With the Engine and Gearbox safely removed it was time to get on with removing everything else which is bolted, screwed, stuck or attached in some method to the body and chassis.
The brake and clutch master cylinders were carefully disconnected from their copper pipes, I am not sure at the moment whether to buy new master cylinders or buy a seal kit for the old ones, it will probably depend upon what they look like once I strip them down. With the master cylinders out if the way the pipes were removed without too much care and in some places just cut through as I will be replacing them with a new pipe kit.
The wiring loom was removed throughout the car taking great care to photo and label all the connections as the loom looks in quite good order and because finances are limited it will be reused after a good clean and all the connectivity checked through.
I have read 2 different books on Spitfire Restoration Cars and had comments from loads of people, some say never take the body off the chassis before completing the repairs to the body others say you are OK to take it off as long as the body is supported.
I decided the best way for me (only having a single garage) was to support the body and remove it so that the chassis could be repaired and then the chassis could be moved to the side of the house and covered until required.
Related : Triumph Spitfire MK IV Restoration Parts 8 By Guide ~ Triumph Spitfire MK IV Restoration Parts 8, Triumph Spitfire Cars


